Levi in 15 Minutes: Your First Automation
Welcome to Levi.ai — your autonomous sales assistant designed to book appointments, follow up with leads, and grow your revenue while you focus on running your business.
In this quick guide, you'll set up your first automation in just 15 minutes — no coding or complex setup required.
⚡️ What You’ll Learn
By the end of this guide, you’ll know how to:
Connect Levi to your calendar and inbox
Train Levi on your brand voice and services
Create your first automation flow
Go live and start generating results
🧩 Step 1 — Create Your Levi Account
Go to app.levi.ai.
Sign up with your business email.
Choose your business type — for example, Fitness Studio, Salon, or Agency.
Levi will personalize your workspace automatically.
💡 Tip: You can invite your team later from Settings → Team Access.
🔗 Step 2 — Connect Your Tools
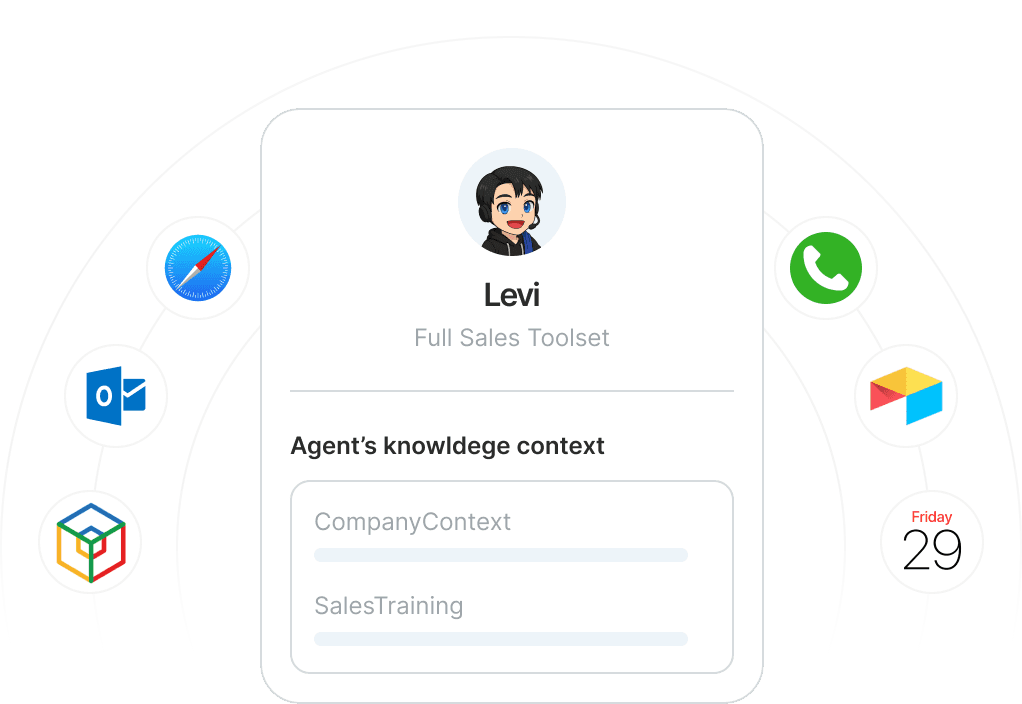
Levi integrates with over 1,000 platforms out of the box — from Google Calendar to CRMs and booking systems.
Open Integrations in your dashboard.
Choose the tools you already use (for example, Calendly, Google Workspace, ActiveCampaign).
Follow the on-screen prompts to connect them.
✅ Once connected, Levi will automatically sync your schedules, leads, and communication channels.
🧠 Step 3 — Teach Levi About Your Business
This is where Levi starts to sound like you.
Go to Brand Setup → Knowledge.
Add your:
Services or pricing information
FAQs (for example, “Do you offer trial sessions?”)
Brand tone (friendly, professional, confident, etc.)
Upload your logo and select your brand color. Levi uses it across chat and email responses.
💬 Pro Tip: The more you teach Levi about your business, the more natural and accurate its responses become.
🤖 Step 4 — Build Your First Automation
Let’s create your first workflow: a Lead Nurture Automation that books appointments for new inquiries.
Go to Automations → Create New.
Choose Template: Appointment Booking.
Customize:
Greeting message
Follow-up timing (for example, “2 hours after inquiry”)
Booking link or calendar source
Click Preview to test Levi’s conversation flow.
When satisfied, toggle ON to make it live.
🚀 Step 5 — Test and Go Live
Before fully launching:
Send yourself a test message or email to see how Levi responds.
Adjust tone, timing, or triggers under Automation Settings.
Enable Live Mode — Levi will now handle real customers.
🎉 That’s it — your first automation is live!
📈 What’s Next
Create follow-up flows for no-shows or expired leads.
Explore AI Skills to let Levi handle reminders, feedback, or surveys.
Check Analytics to track Levi’s performance and conversion rates.
👉 See next: Customizing Levi’s Voice and Tone
🧭 Summary
Step | Goal | Time |
|---|---|---|
1. Create Account | Get access to your dashboard | 2 min |
2. Connect Tools | Sync calendar & inbox | 3 min |
3. Teach Levi | Add brand info | 5 min |
4. Build Automation | Create first workflow | 4 min |
5. Go Live | Start booking clients | 1 min |
Total: 15 minutes to your first automation.