The Onboarding Checklist: Signup to First Lead
The Onboarding Checklist: From Signup to First Lead
Welcome to Levi.ai — your AI assistant that books appointments, follows up with leads, and grows your revenue automatically.
This checklist walks you through everything you need to do from signing up to generating your first qualified lead — in clear, actionable steps.
🧭 Overview
Your onboarding journey has five stages.
Each one builds on the last to take you from setup to your first real customer conversation.
Stage | Goal | Estimated Time |
|---|---|---|
1. Sign Up | Create your Levi workspace | 2 min |
2. Connect Tools | Sync your business data | 3 min |
3. Train Levi | Teach it about your services | 5 min |
4. Launch Automations | Start lead flow | 4 min |
5. Monitor Results | Review early performance | Ongoing |
✅ Step 1 — Sign Up
Go to app.levi.ai.
Sign up using your business email.
Choose your business category (for example, Salon, Gym, or Agency).
Your dashboard will automatically load with pre-configured settings for your industry.
Tip: Bookmark your dashboard for quick access — most users log in from desktop first.
🔗 Step 2 — Connect Your Tools
Levi connects seamlessly with your booking systems, calendars, and CRMs.
These integrations allow Levi to see your schedule, send messages, and manage follow-ups automatically.
Open Integrations in the main menu.
Select platforms you use — Google Calendar, Calendly, or ActiveCampaign are great starting points.
Authorize access by following the guided prompts.
Pro Tip: For the smoothest automation, connect both your calendar and email during setup.
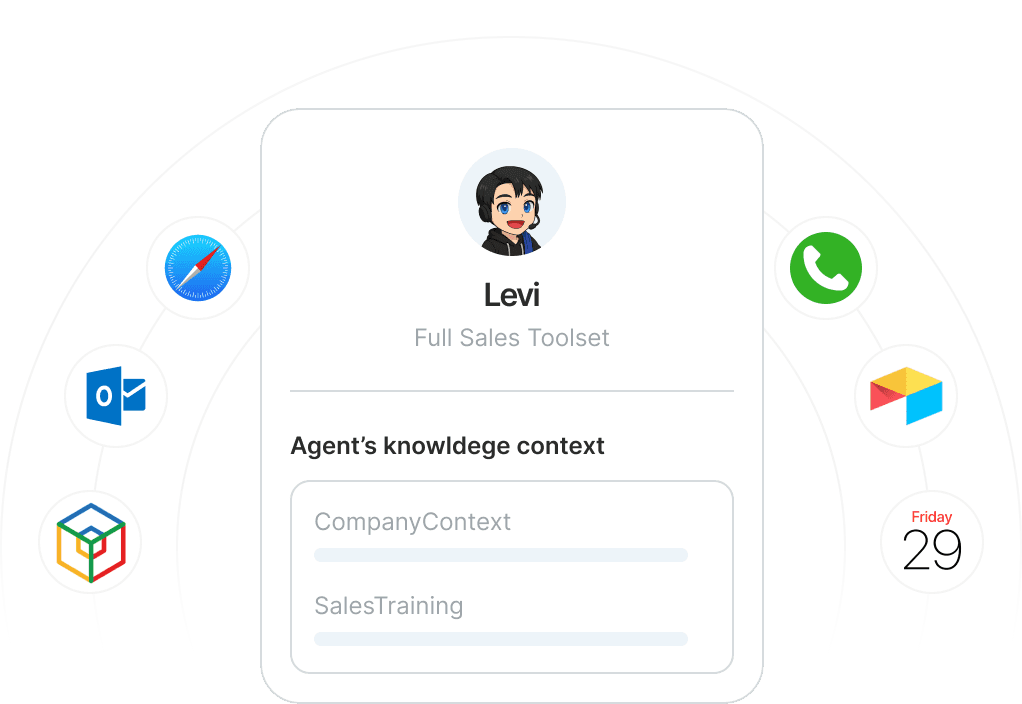
🧠 Step 3 — Train Levi on Your Business
Levi performs best when it truly understands your brand and offers.
Go to Brand Setup → Knowledge.
Add your services, pricing, FAQs, and tone of voice.
Write 2–3 example responses you’d typically give to clients.
Upload your logo and select your brand color to personalize Levi’s chat and email styles.
💡 The more examples you give, the better Levi can mirror your communication style.
🤖 Step 4 — Launch Your First Automation
Now you’re ready to let Levi work.
Go to Automations → Create New.
Pick a Lead Capture or Appointment Booking template.
Edit key details like greeting, timing, and call-to-action.
Preview the flow, test it yourself, and toggle it live.
🎯 Goal: Automate the first stage of your funnel — converting new inquiries into booked calls.
📈 Step 5 — Monitor and Optimize
Once Levi is live, keep an eye on performance.
Visit Analytics → Conversations to track leads and bookings.
Adjust tone, timing, or triggers based on what you see.
Try adding a Follow-up Automation to reach missed leads after 24 hours.
Benchmarks for success:
First response time: under 2 minutes
Booking rate: 25–35%
Cost per lead: decreasing after week one
🚀 Ready for Your First Lead?
By completing the checklist above, you’ve done the hard part — setup.
Now it’s time to watch Levi work and handle your first real inquiry automatically.